Crack
Prohibition
Any Crack Shall be unacceptable, regardless of size
or Location.
Weld
Base Metal Fusion
Thorough fusion shall exit between adjacent layer of
weld metal and between weld metal and base metal.
Crater
Cross Section
All craters shall be filled to provide the specified
weld size, except for the ends of intermittent fillet welds outside of their
effective lengths.
Weld
Profiles
Weld profiles shall be in conformance with AWS D1.1
Sub section 5.24
Time
of Inspection
Visual inspection of welds in all steel may begin
immediately after the complete welds have cooled to ambient temperature.
Acceptance criteria for ASTM A 514, ASTM A 514 and A 709 Grade 100 and 100 W
steels shall be based on visual inspection performed not less than 48hours
after completion of welds.
Undersized
Welds
The size of fillet weld in any continuous weld may
be less than the specified nominal size (L) without correction by the following
amounts (U)
Specified
Weld Size (L) mm
Allowable decrease from (L) mm
Less than 5 mm 2 mm
6
mm
2.5 mm
Greater than 8 mm 3 mm
In all case, the undersize portion of the weld shall
not exceed 10% of the weld length, one web-flange welds on grinders, under run
shall be prohibited and for a length equal to twice the width of the length
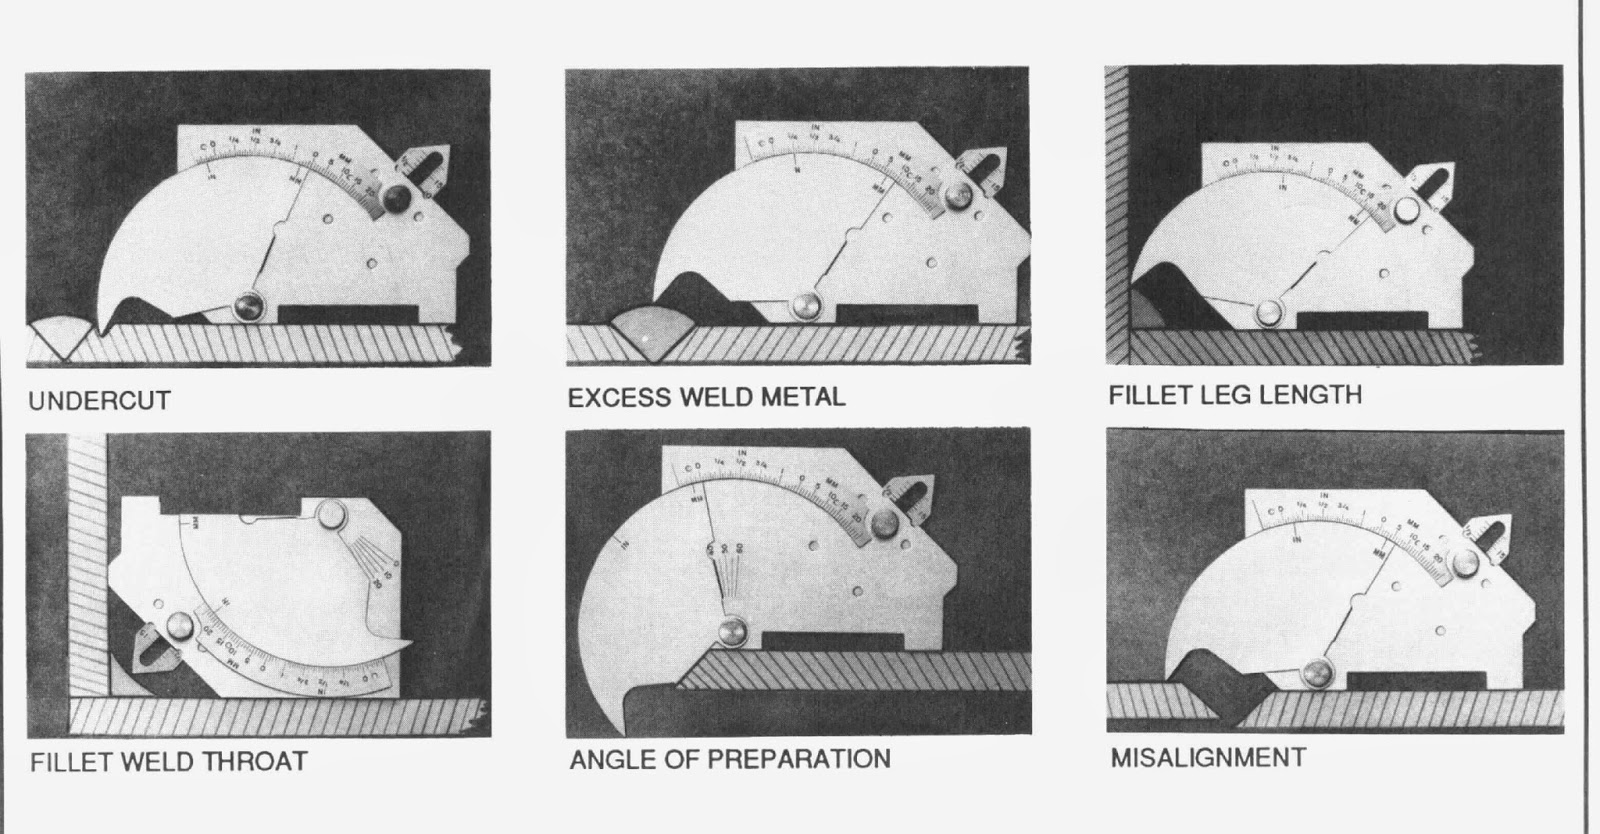
Undercut
For material less than 25mm thickness, undercut
shall not exceed 1mm, with the following exception, undercut shall not exceed
2mm for any accumulated length up to 50mm in any 300mm. for material equal to
or greater than 25mm thickness, undercut shall not exceed 2mm for any length of
weld.
For primary members, undercut shall be more than
0.25mm deep when the weld is transverse to tensile stress under any design
loading condition, undercut shall be no more than 1mm deep for all other cases.
Porosity
CJP groove in
butt welds joints transverses to the direction of the computed tensile stress
shall have no visible piping porosity. For all other groove welds and for
fillet welds the sum of the visible piping porosity 1mm or greater in diameter
shall not exceed 10mm in any linear inch of weld and shall not exceed 20mm in
any 300mm length of weld.
The frequency of piping porosity in fillet welds
shall not exceed one in each 100mm of weld length and the maximum diameter
shall not exceed 2.5mm. Exception: for fillet welds connecting stiffeners to
web, the sum of the diameter of piping porosity shall not exceed 10mm in any
linear inch of weld and shall not exceed 20mm in any 300mm in length of weld.
CJP groove welds in butt joints transverses to the
direction of computed tensile stress shall have no piping porosity. For all
other groove welds the frequency of the piping porosity shall not exceed 100mm
of length and the maximum diameter shall not exceed 2.5mm

good information thank you
ReplyDeleteThis is a very detailed breakdown of AWS D1.1 visual inspection criteria. I’ve personally found the porosity and undercut limits tricky to apply in real-world projects, so having these clear thresholds is really useful. I’m curious, have you found any common mistakes when inspecting CJP groove welds? Also, I’ve been reviewing AWS practices alongside these inspection procedures, and it’s interesting to see parallels in compliance and standards.
ReplyDelete